I am fairly new to the scrapbooking world and I find myself trying to just make do. This box is actually very easy to make and doesn't require any special tools. It does, however, require a fair amount of paper. I doubled the base of my box to make it sturdy enough to handle whatever I decided to put in it and also to cover my seams. I purchased a book of cardstock for $5 so even though it took me about 8 sheets of cardstock to make this, it still cost me less than $2 to make this which is better than a gift bag. Make sure you have enough of the paper you want in advance. I will give you the option for a large box and the medium box in the the instructions. Just follow along with the instructions for the size you need. The dimensions for the large box are 7 1/2" x 10" for the base with a height of 5" not including the hood of the pram. The dimensions for the medium box are 6 1/2" x 5" for the base with a height of 4". Notice that the base of the box is graduated so these measurements will not be the same for the top of the box base. You'll see what I mean.
You will need
cardstock
a ruler
a compass or a circle cutter
a scoring tool (I used an embossing stylus and a straight edge)
glue (I used a glue stick and a hot glue gun)
scissors
ink or other decorations (optional)
a pipe cleaner
Step 1--cutting and scoring
First cut out four rectangles (side a) that are 12" x 5 1/2" or 8 1/2" 4 1/2" and set aside. Also cut out four rectangles (side b) that are 9 1/2" x 5 1/2" or 7" x 4 1/2". Next cut out two 10" x 7 1/2" or 6 1/2" x 5" pieces (base). You will also need one 12" or 8" diameter circle, two 2" or 1" diameter diameter circles, and one 11 1/2" x 9 1/2" or 8" x 7" piece for the (hood) of the pram. Lastly, you'll need four 1" x 2" tabs for either size.

These are sides a and b respectively. The red lines are scoring and the blue lines are cutting. Please excuse the crude picture. This part of instruction is for either size of the box. Measure in 1" from the short side and score parallel to the long side. Measure in 1/2" from the opposite end of the short side and score parallel to the long side. On (side a) piece following the line of the 1/2" score not the edge, measure 1" from the short side. Cut off excess.
(Side a) should look something like this. I know they don't look the same size but it is the same side with one folded on the scored edge and one flat. The 1" scored edge is the top and the 1/2" scored edge is the bottom.
(Side b) is cut and scored similar to (side a) but the cutting is different. Refer to the red/blue or red/black picture if you don't understand what I'm saying. Score the diagonal edge instead of cutting it and about 1/2" or so away from that score, cut off the excess. It should look something like this.
Notice the little corner cut out of the bottom. Now you should have this.
Sorry, this shows (side b) then (side a) respectively cut, scored, and folded.
Next, take your large circle and cut it into 8 pie shaped pieces. If you are going to ink the edges now is the time to do it to all your pieces. The base pieces only need to be inked on one side (two on the front side, two on the back) whereas the hood pieces need to be inked on both.
Step 2--assembly
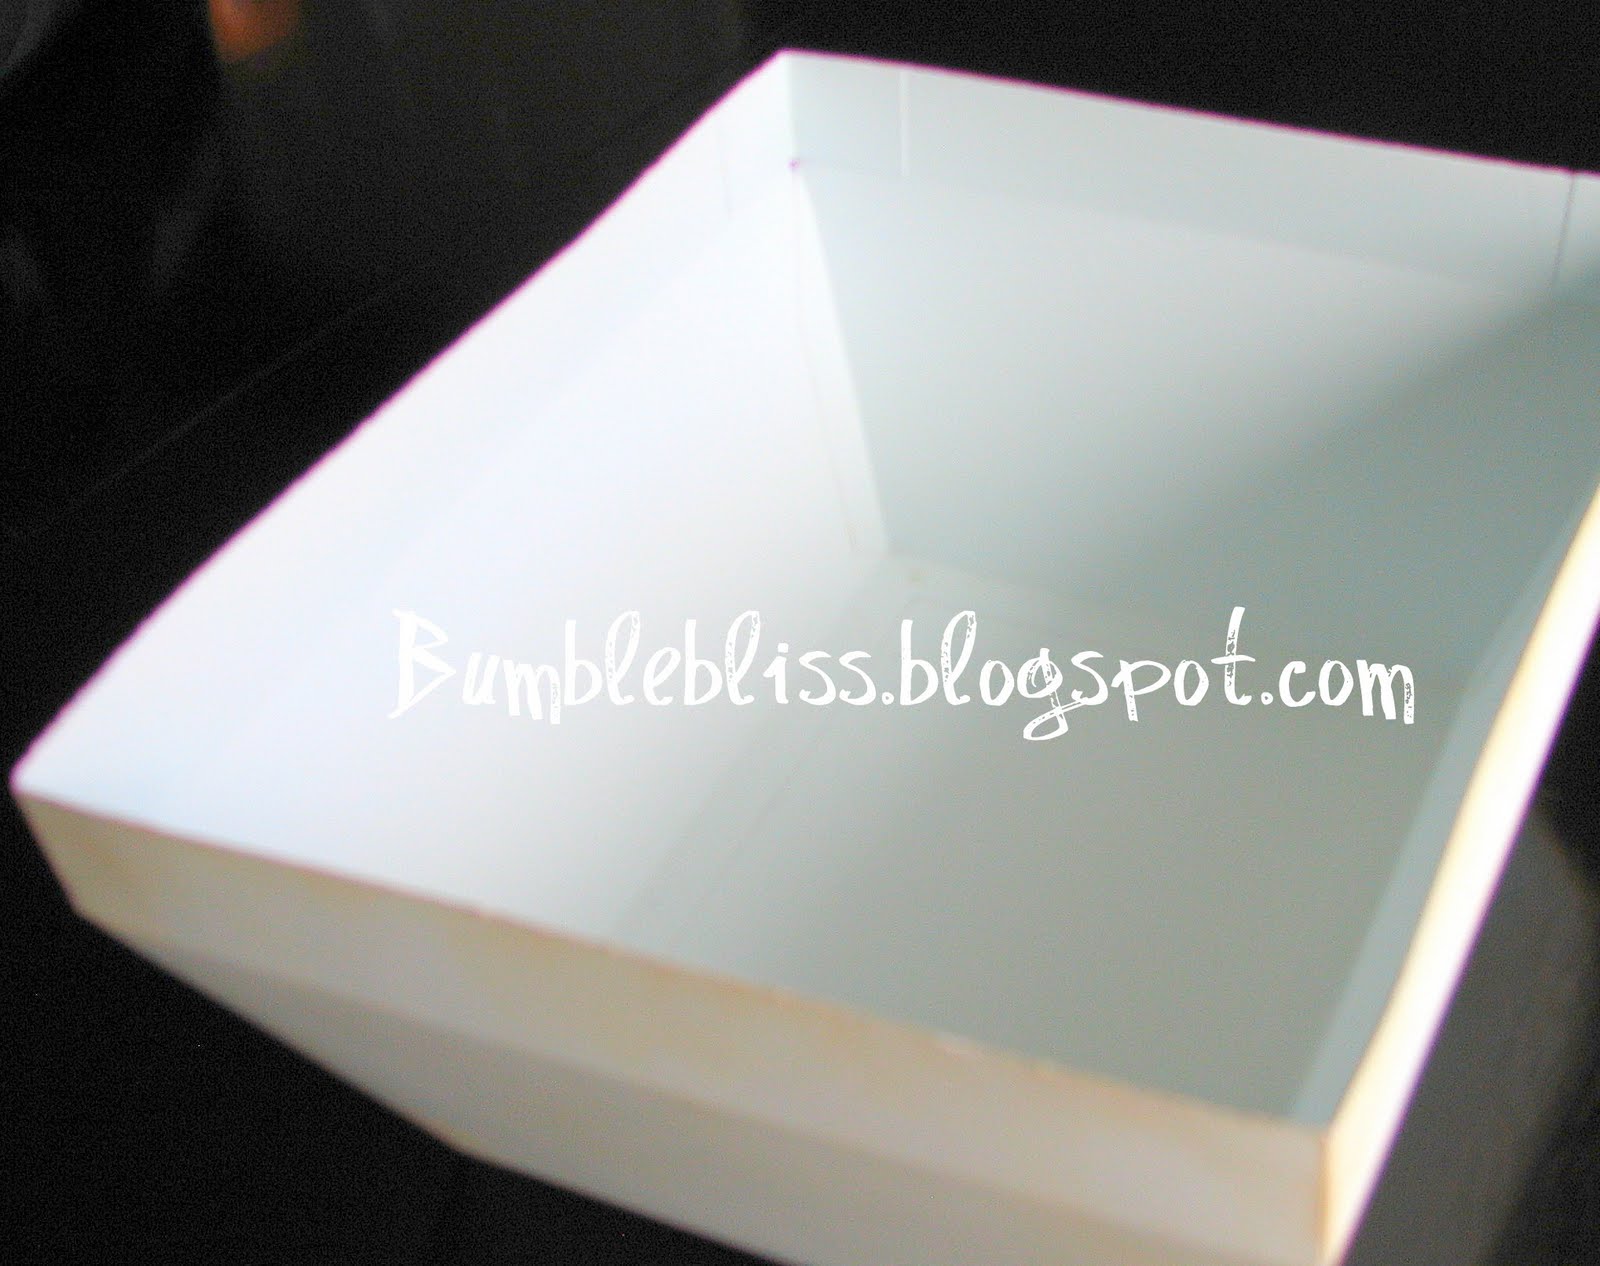
Take two (side a) pieces for the outside of the box and two (side b) pieces for the outside and one base piece. Glue them together according to the picture with the tabs glued to the inside.
Glue up the side tabs.
Take the four 1x2 tabs and glue them in the corners of the top of the box.
Take one (side b) piece for the inside and glue it in. You may need to trim it just a bit to fit it inside so try it out first to make sure it fits.
Next take 3 of your pie shaped pieces and overlap them about 1/2".
I accidently put mine on the wrong side so when you do it, the overlapped pie piece should be at the bottom not the top. Do this for both sides. You can also glue on the 2" or 1" circles. Next take your inside pieces of (side a) and glue them inside. You may also have to trim these pieces. Add your pipe cleaner handle and then glue on the last (side b) piece. Then glue on the interior base piece. All that is left is to finish the hood.
Take your (hood) piece and glue it on using the hot glue gun. That's it! Fill your box with your gift and leave it open or wrap it in cellophane.
If you decide to make this please send some love our way. Mention our blog, grab a button, tell your friends. Thanks.
Eve


.JPG)


I think this is AWESOME! I shared it on my FB... thanks for the inspiration and your info!